
In today’s tech-driven world, the kitchen is also getting a smart makeover, and leading the charge is the smart home electric grill. This innovative appliance combines convenience with functionality, redefining the grilling experience for modern homeowners. Whether it’s a quick dinner or a weekend gathering, these grills promise a hassle-free cooking session with a touch of a button.
Smart Home Electric Grill
Smart home electric grills blend innovative technology with exceptional cooking performance, redefining kitchen convenience. These grills integrate seamlessly with other smart home devices, enhancing user experience through ease of use and precision in cooking.
Key Features
- Precision Temperature Control: Digital controls allow users to set their desired cooking temperature, offering unparalleled accuracy compared to traditional grills. For example, models might feature settings specific for different types of meats, ensuring perfectly cooked dishes every time.
- Remote Monitoring and Control: Users can manage their grill remotely via smartphone apps. This makes it possible to adjust temperatures, turn the grill on or off, and monitor cooking progress from anywhere in the home.
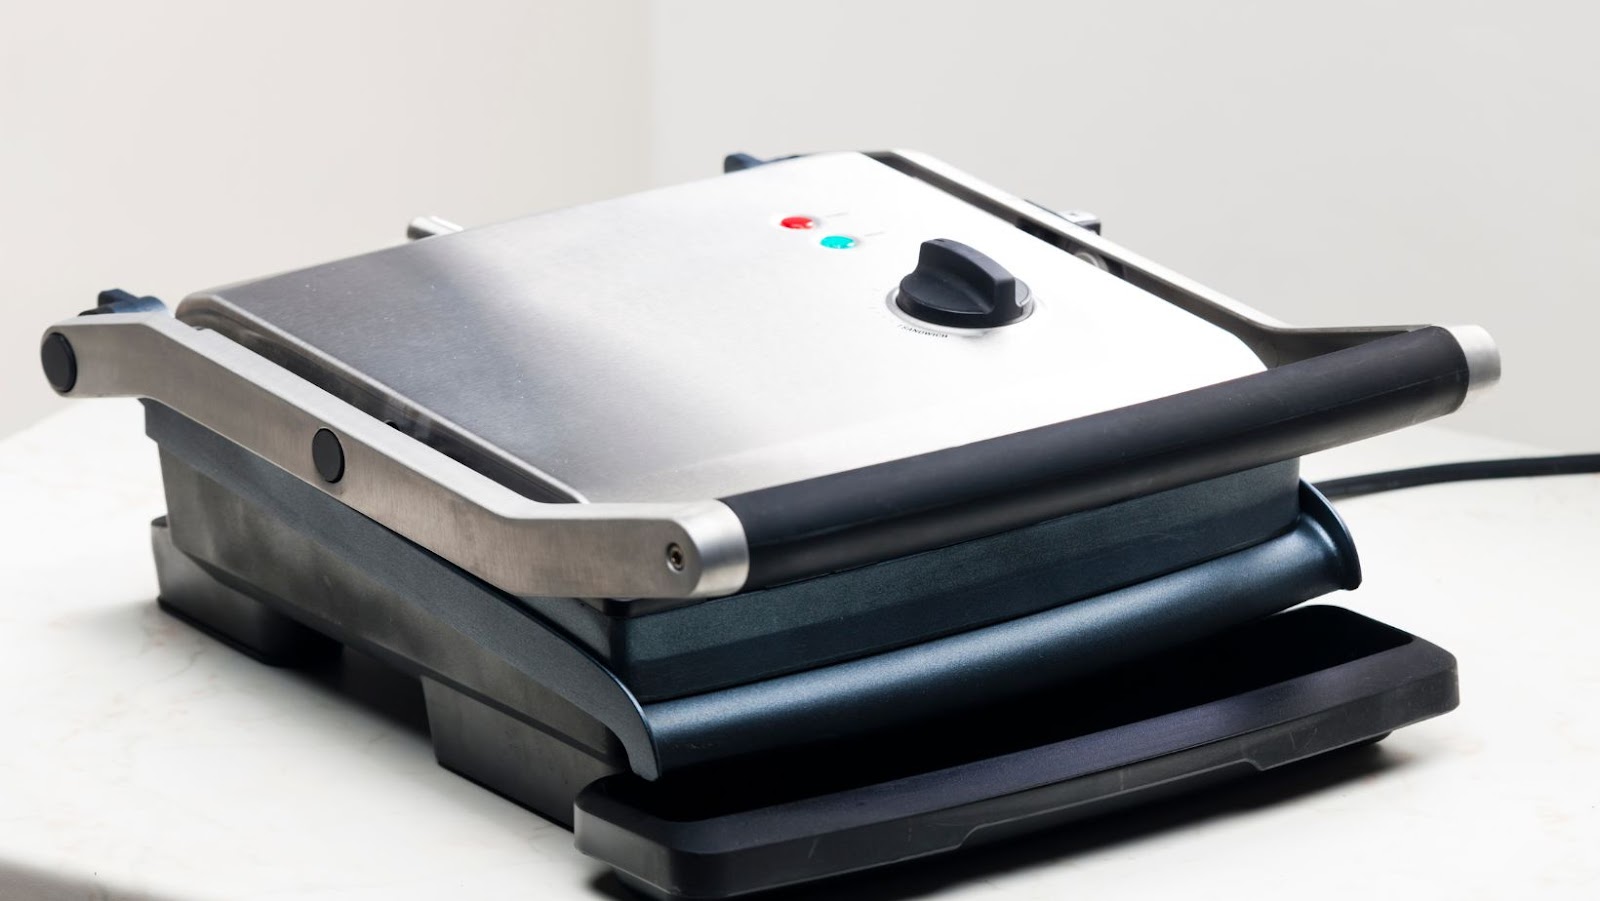
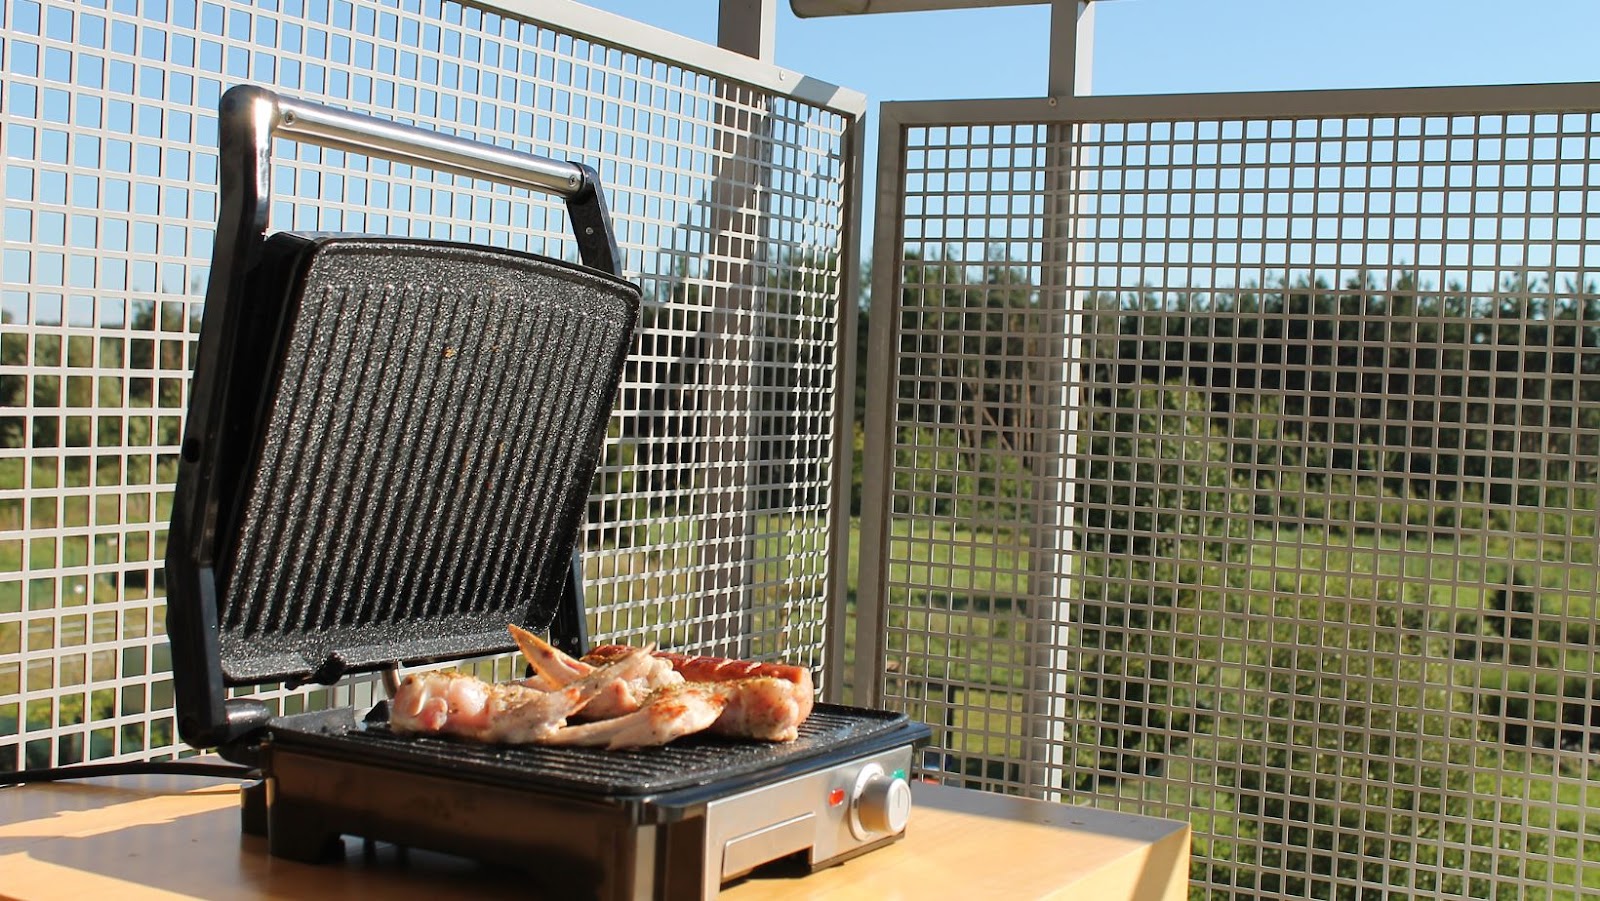
- Non-Stick Surfaces: Many smart grills come equipped with durable, non-stick surfaces. These surfaces make it easier to cook foods like fish and cheese without the hassle, and cleanup becomes a breeze.
- Enhanced Convenience: Connecting a smart electric grill with other devices, like smart assistants or home automation systems, allows for streamlined cooking processes. Users can start the grill with voice commands, or set timers that align with other smart appliances.
- Energy Efficiency: Smart grills optimize energy use by accurately maintaining the necessary temperature throughout the cooking process. This not only conserves energy but also reduces utility costs.
- Safety Features: Integration with smart home systems can enhance safety by notifying the user of issues like overheating or when the grill is accidentally left on. This feature adds an important layer of security to the cooking experience.
How to Install and Setup Your Smart Home Electric Grill
Installing and setting up a smart home electric grill involves several straightforward steps that guarantee optimal functionality and enhance your cooking experience. By following the outlined instructions, users ensure their grill operates efficiently and integrates seamlessly with other smart home devices.
Preparing for Installation
Before installation, selecting the ideal location for your smart home electric grill is essential. One should consider proximity to electrical outlets and ensure the area is well-ventilated. Most manufacturers recommend placing the grill near a counter space for easy access to ingredients and kitchen tools.
Step-by-Step Installation
- Unpack and Assemble:
Remove the grill from its packaging and consult the instruction manual for specific assembly instructions. Typically, this includes attaching parts such as legs, cooking plates, and control panels. - Connect to Power:
Ensure the device is switched off. Connect your electric grill to a suitable power outlet. It’s advisable to use a grounded outlet to avoid electrical hazards. - Install Accessories:
Attach any additional accessories, like temperature probes or drip trays, as specified by the manufacturer. These components often enhance the cooking process and help maintain cleanliness.
Setup and Connectivity
- Turn on the Grill:
Power up your grill by pressing the main power button, usually located on the front or side panel. - Connect to Wi-Fi:
Navigate to the settings menu either on the grill’s display or a connected app, and connect the grill to your home Wi-Fi network. This setup allows for remote monitoring and control. - Sync with Other Devices:
If your grill supports integration with other smart home devices, proceed to sync it via the app by following the in-app instructions. This step enables features like voice command through systems such as Amazon Alexa or Google Assistant.
Testing the Setup
Once installation and setup are complete, it’s critical to test your smart home electric grill:
- Trial Run:
Start with a simple recipe to test functionalities such as temperature control and timing. - App Functionality Check:
Use the app to adjust settings and monitor the cooking process, ensuring all features are responsive and functioning as expected. - Safety Features Verification:
Verify that safety features such as auto-shutoff or alarms for overheating are operational, securing peace of mind during use.